Cloud-Based-Headless-Kali-Linux-Terminal
Deployment
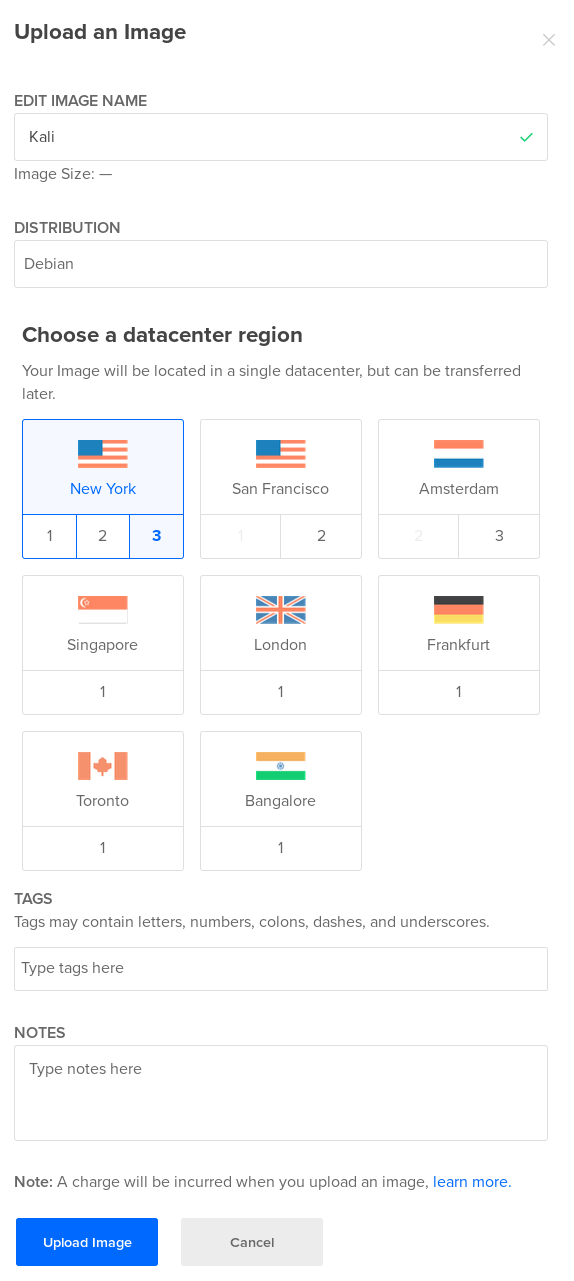
Login to the cloud provider, click on “Create” and then “droplet.” Now we can upload the virtual disk image.
You can name it anything you like, but for documentation sake we’ll name it Kali, mark it as a Debian based distribution, and select the datacenter region to upload it to. Remember, custom images consume disk space and will be billed upon that usage.

Next, click on the “More” option of the image on the right of the screen and select “Start a droplet” from drop-down options.
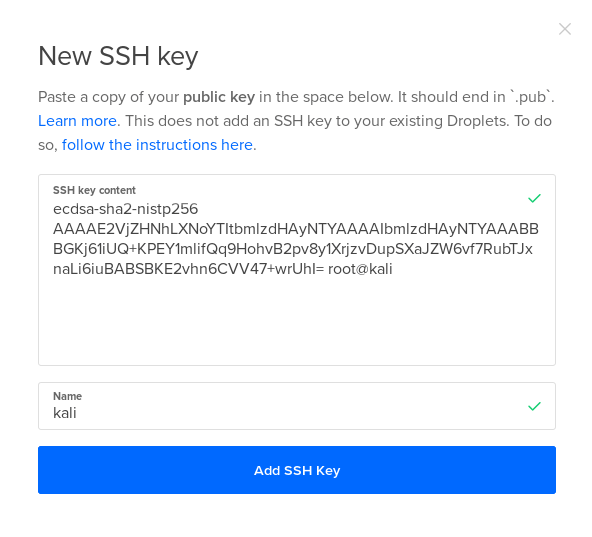
From there you will be able to select the billing plan, the required SSH key, and the project to start it in. You can just paste your public key if you elect to upload a new one.

Once complete, click “Create” at the bottom of the screen.
Congratulations! You’ve made it this far. Unfortunately, you’re not quite ready to remote into your server just yet.
Final Configuration
Before we can securely connect to the server, we need to configure our server for system security.
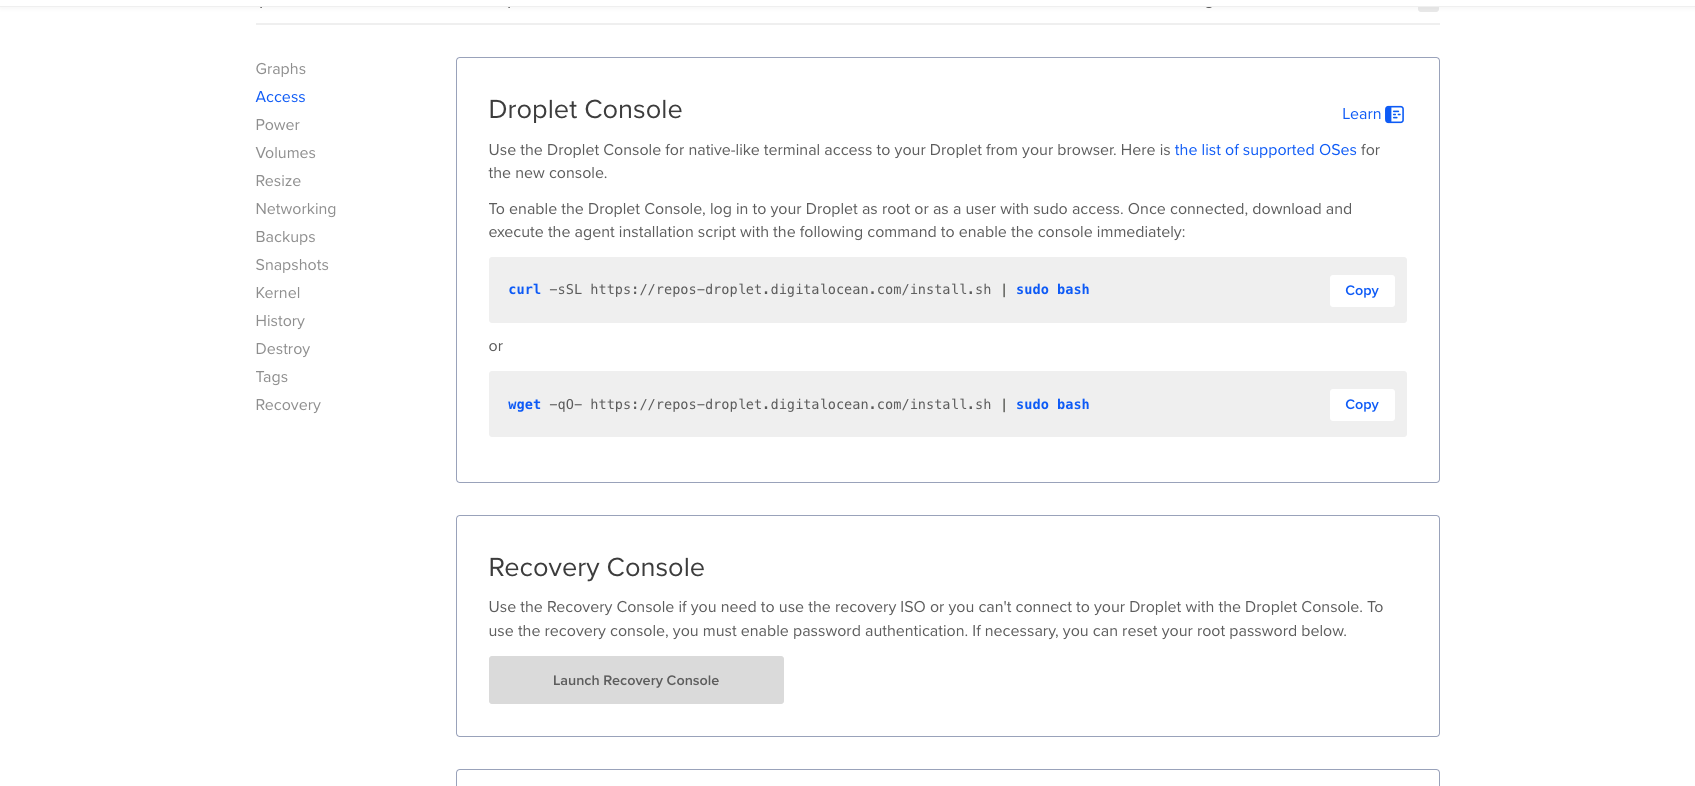
Click on your created droplet and click on “Access” and scroll down. We will launch our droplet from the recovery console.

Now, login like we would normally then grant yourself superuser privileges.

Open your global sshd configuration file. nano /etc/ssh/sshd_config/
First, for security best practices we will prohibit ANYONE from logging in as root. Superuser is the only we will be accessing root privileges in our server.
Even though this server will be utilized for remote penetration testing, let’s limit the attack surface just in case one of our fellow hackers finds our IP. Find the location in the file where you see PermitRootLogin and make sure it has “no” next to it.
Next, you’ll need to provide your non-root user the ability to access the server. At the end of the file, type:
AllowUsers [non-root username]
Without this, we would receive another permissions denied error during the “handshake” of our remote connection.
Finally, save the file and exit the recovery console.
Gee Willikers! I think you’ve done it; the server is finally ready for it’s first connection!